- How do you get them?
- How do you get rid of them?
What is a blister exactly?
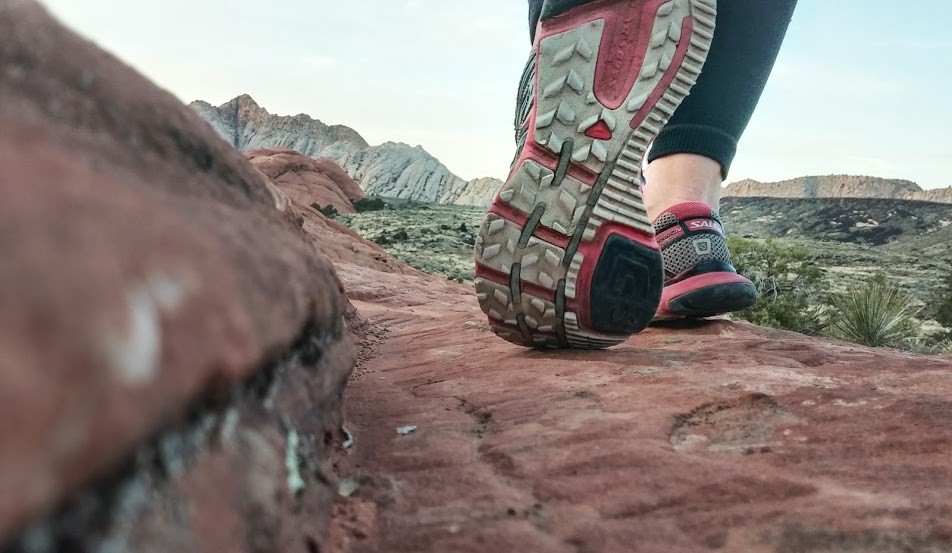
A blister is a pocket of fluid within the upper layers of the skin. Friction is the usual culprit, brought on by the repetitive movement of walking, running, and hiking. Your shoes or socks rubbing against your skin are the starting point. Then, something that exaggerates the rubbing can produce a blister, especially if heat and moisture are present. Before an actual blister, there will usually be a hot spot, indicated by an area of warmth and reddened skin leading to burning or stinging. If the hot spot is untreated, a fluid-filled blister can result.
Common Culprits
- Socks rubbing against your skin
- Poor-fitting shoes
- Faster pace
- Foot abnormalities - Heel spurs, bunions, etc.
- Heat and moisture - These factors cause your feet to swell, intensify friction, and make your skin more fragile. (Many runners only get blisters while running a race because perspiration increases due to increased pace and distances).
- Rocks, sand, and grit - Get rid of particles that lodge into your shoe as soon as you notice them.

Prevention
The best way to deal with blisters is to avoid getting them. The first step in prevention is to deal with friction. Here are ways to head off friction:
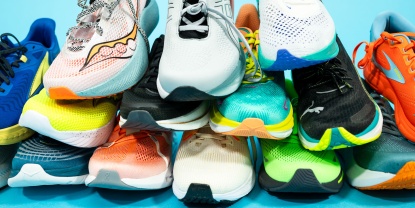
If the Boot Fits
- Try before you buy - Try on different types and styles of footwear to find the best fit. If a shoe doesn't fit right, it will likely fit worse over time. Check out our articles on How to Choose Hiking Boots for Men and How to Choose Hiking Boots for Women, and see our favorite walking shoes for comfy feet.
- Bring your socks along. - Wear the socks you will wear when trying on footwear.
- The boot - If you need an additional product for the footwear to feel right, like an insole, then the shoe or boot is probably not the right one for you.
- Heel lift - There should be a small amount of room in the heel area after you are laced up. Look for about a quarter inch of lift from the heel to allow for a natural foot stride. Your heel shouldn't move too much because that can cause friction and heat and then blistering. To , find that sweet spot with a little heel lift.
- Wiggle room - Wiggle room for your toes prevents blisters under and on the ends of your toenails. If the toe box is snug, perhaps choose a half-size larger or a brand with a larger toe box.
- Kick a wooden post three times! - This sounds weird, but it's a good way to test the fit. When your shoe or boot hits the post, the foot should move forward in the shoe or boot and then sit back. Your toes should not hit the front of the boot/ shoe until the third kick.
- Laces - Your laces should be snug and provide support but not be too tight. Your feet swell, and if the shoe or boot is too tight, there will be no room for the foot to expand.
- Take care of your boots - At the season's end, ensure your shoes or boots are completely dry. Store them with a shoe horn or crumpled newspaper to keep their shape. When you start running or hiking again, stretch your footwear if there is tightness.
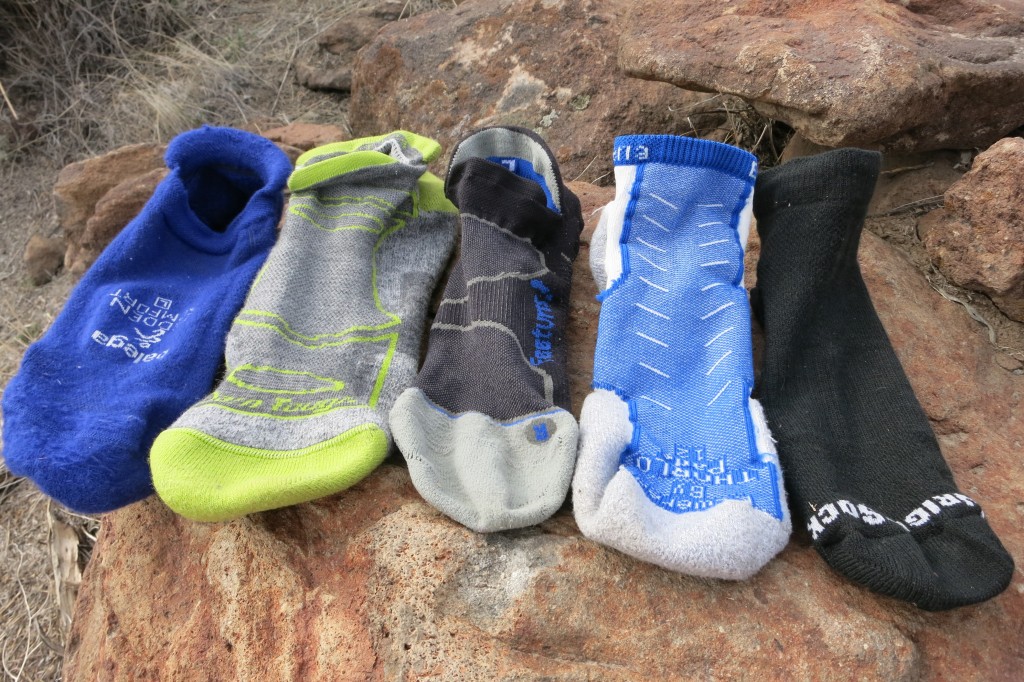
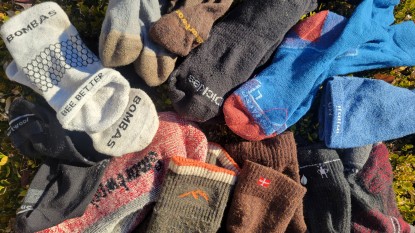
Socks: Friend or Foe
Socks can be a lifesaver or your biggest enemy. Check out our best hiking socks review and best running socks review for expert suggestions. We've also tested the best socks for general wear.
- No cotton - This is the golden rule for prevention regarding socks. Cotton holds moisture next to your skin, causing friction and blisters that need to be healed.
- Double-layered socks - Some manufacturers minimize friction by creating a sock with more than one layer. The concept is that the friction will be between the layers, not between your foot and the sock.
- Wicking ability - Socks that wick prevent friction caused by moisture.
- Smooth and flat seams - Choose socks with smooth, flat seams.
- Snug as a bug - Your socks should have a snug fit with no wrinkles or baggy spots.
- Toe socks - If you're prone to toe blisters, consider using toe socks to create that extra layer to absorb friction between each toe.
- Sock liners are your friend - Sock liners go between your shoe and next to the skin sock to prevent friction. Tip: Rub soap on the outer side of the liners to create more slippage between your shoe and liner and less friction between your skin and sock. Polypropylene, wool, or wool-nylon blends work well.
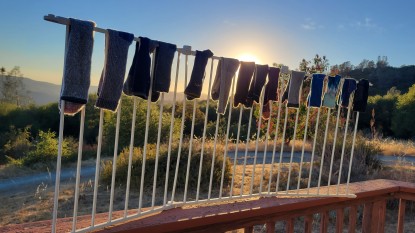
- Change wet socks - Keep your feet dry! Wet, hot skin blisters faster than cool, dry skin.
Hot Spots? Nip Them in the Bud!
As soon as you notice any discomfort on your feet, address the problem before it grows into a full-blown blister! A "Hot Spot"is a foretaste to a dreaded blister. Any spot where you feel pressure or tenderness may signify a hot spot. If you feel stinging or burning, you've probably missed the window for prevention. It might not have formed yet, but it will. The blister can take up to 2 hours to fill with fluid. Ways to "Nip them in the Bud" are as follows:
- Change your socks - The hot spot may develop due to fragile, damp skin in sweaty socks or poor-fitting socks, so change them at the first sign of discomfort.
- Protect it - Cover a hot spot with moleskin, duck tape, or a bandage. This barrier acts as a second layer of skin and should not be removed. Apply it directly, sticky-side down, and let it fall off to avoid pulling off your skin.
- Very wet or very dry - Moist environments cause fragile skin to blister. Keeping the feet dry with some powder or wet with some type of lubricant will protect the skin. Apply either treatment as a preventative measure or at any sign of a hot spot.
Treatment - How to Heal a Blister
So you've been so into that run or hike that you missed that hot spot preventative window, and now you have a blister! Here's how to heal a blister:
To Pop or not? That is the question
This is a long debated question, but we say the answer is relative to size and infection potential. When the impending bursting is imminent, why not drain it in a clean environment instead of letting it burst in a dirty sock? If the blister is small, often the blister's skin is the best protection and will heal itself through re-absorption.
If deemed necessary, Here's How to lance the sucker:
1) Clean the infected area thoroughly with soap and water, alcohol, or whatever you may have on you in your med kit or at home.2) Sterilize a sharp object such as a needle, safety pin, or a blade by torching it with a lighter until it's red hot. Alternatively, you can use an alcohol swab to make sure your instrument of choice won't do more harm than help.
3) With clean hands, pop a small hole in the surface (preferably the side) and gently squeeze out the fluid.
4) Don't remove the skin over a broken blister. It protects the raw new skin underneath and allows it to grow.
5) Apply some antibiotic cream or ointment. Applying Neosporin or triple antibiotic gel will kill off infecting bacteria after two uses and hasten the healing process.
6) Pay attention to signs of infection, such as white or yellow fluid, red streaks, or red and warm skin surrounding the blister site.
Tape
When taping up toes, heels, and other areas, follow the tips below: (Consider taping as a precaution in blister-prone zones or once a hot spot has formed).
- Use medical tape, moleskin, Leukotape, hypoallergenic silk tape (designed to even stick to moist skin), or whatever type of adhesive dressing you have. Be vigilant when switching tape out; a painful open blister forms if the tape is left on too long.
- TIP: Always place a layer of toilet paper over the skin before applying tape. You can create a bandage by placing a smaller piece of tape in the center of a strip, sticky-side to sticky-side, so a smooth surface lies against the sore. Putting tape directly on a blister will pull off any remaining skin when you remove it.
- For toe blisters, take one piece of tape from the bottom of your toenail and bring it over the top of your toe, securing it underneath. Then, take another piece and wrap it around the circumference of the toe, keeping that first piece of tape in place.
- For the balls of your feet, use a wide strip measuring several inches longer than the width of your foot where you will tape. Step on the tape, and wrap the ends around to the top of your foot. Then, contour the tape to the shape of your foot.
- Tip: Tape adheres much better when your feet are warm and dry, so tape them upright when you leave your sleeping bag in the morning or before you leave the house.
- Avoid wrinkles with your tape jobs, as they can also cause blisters.
- You may cut a doughnut-shaped piece of moleskin that fits around the blister rather than directly on it. Gel pads, such as 2nd skin, are great to fill the doughnut with to help heal the wound. They also provide extra protection from infection.
- Benzoin is a sticky, alcohol-based substance that will disinfect and make tape or moleskin very sticky. It is especially useful if you're in damp conditions where adhesive tape loses its stickiness.
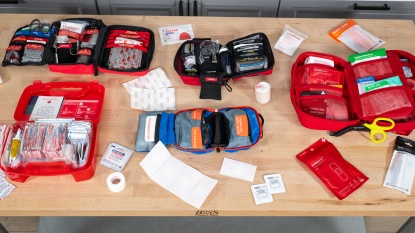
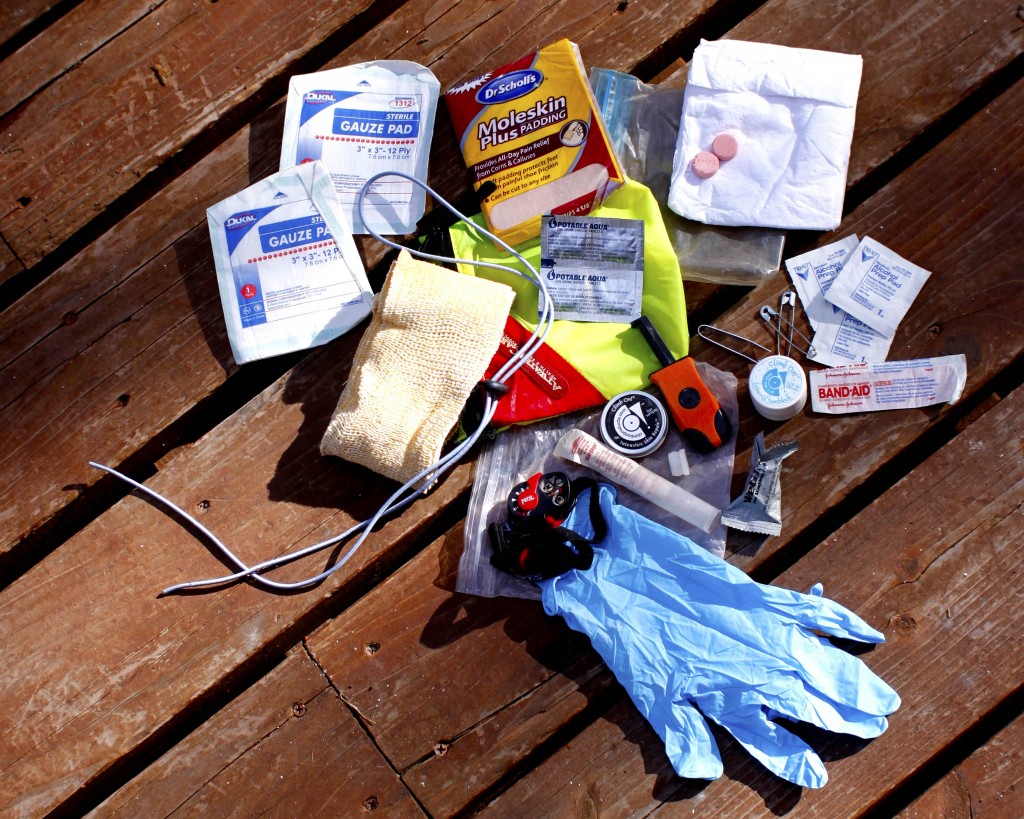
On the go treatment kit
- Tape - (Leukotape/medical tape)
- Benzoin - (disinfectant/sticky adhesive)
- Needle or sharp object
- Lighter or alcohol to sterilize the needle

Backcountry/Ultralight Care
Long-distance hikers and runners often advocate using super glue and duct tape for on-the-go blister healing. These items are carried for many different purposes, such as gear repair, and double up as items for healing blisters in a pinch.
- Superglue- Superglue can heal blisters by bonding the blister's roof to the skin beneath it. This can reduce the risk of infection and create a protective shell over the blister. Ensure you have sterilized the blister before applying Superglue, and be ready for some stinging.
- Duct Tape - This is a popular material used for prevention and treatment in the backcountry, as it's often a material that people have with them already. It is not breathable, so the skin tends to become saturated underneath. Duct Tape also tends to wrinkle, creating creases that cause further problems. If you do use duct tape, be vigilant with switching it out and consider putting something non-adhesive between the sore and the sticky part.
Additional Foot Care Considerations
- Toenails - You must cut your nails before your hike or run. Trim the nail back to meet the toe tip, cutting straight across to avoid other problems, such as ingrown toenails. Make toenail clipping part of your pre-hike routine to help prevent pain and pressure when hiking on a decline. Nails that are too long are also prone to pressure from a constrictive toe box.
- Air out your feet - Any time you're stopped on the trail for 5 minutes or more, air out your feet to dry them out and prevent fungus. While you're stopped, elevate your feet to reduce swelling.
- Take care of your skin - Use a callus file and an over-the-counter cream to soften problem areas on your feet. These creams can also help heal fissures and cracks in the skin typically found on heels. Left untreated, fissures can split open and expose underlying tissue to infection. Blisters deep under calluses are difficult to drain and treat.